Hacking a Davis Wireless Vantage Pro 2 Weather Station: Part 2 - the basic hardware
Part 2 deals with the basic hardware you need to hack the Davis VP2 ISS by intercepting the radio signals and shows the basic premise works.

Hacking a Davis Wireless Vantage Pro2 Weather Station: Part 2: The equipment
In the previous post I talked about the possibility of reading the data directly from a Davis Integrated Sensor Suite (ISS) by intercepting the radio transmissions from the ISS to the VP2 Console.
Doing that needs some specialist hardware and some custom software. The hardware needs to be able to listen on the 868 / 915 MHz frequency bands[1], and the software needs to be able to handle the frequency jumps the ISS uses, and to interpret the packets that the ISS sends.
The previous post had links to a set of posts in a blog called It's science, but works like magic that used a Moteino board from LowPowerLab to link to the ISS. This couples a Atmel ATMega328P microcontroller with the RFM69HCW Programmable 315-915Mhz RF Transceiver Module from HopeRF. Unfortunately it's not easy to get hold of the Moteino in the UK. LowPowerLab will ship to the UK, but the shipping costs are more than the unit itself (unit cost $20, shipping $33).
Adafruit RadioFruits
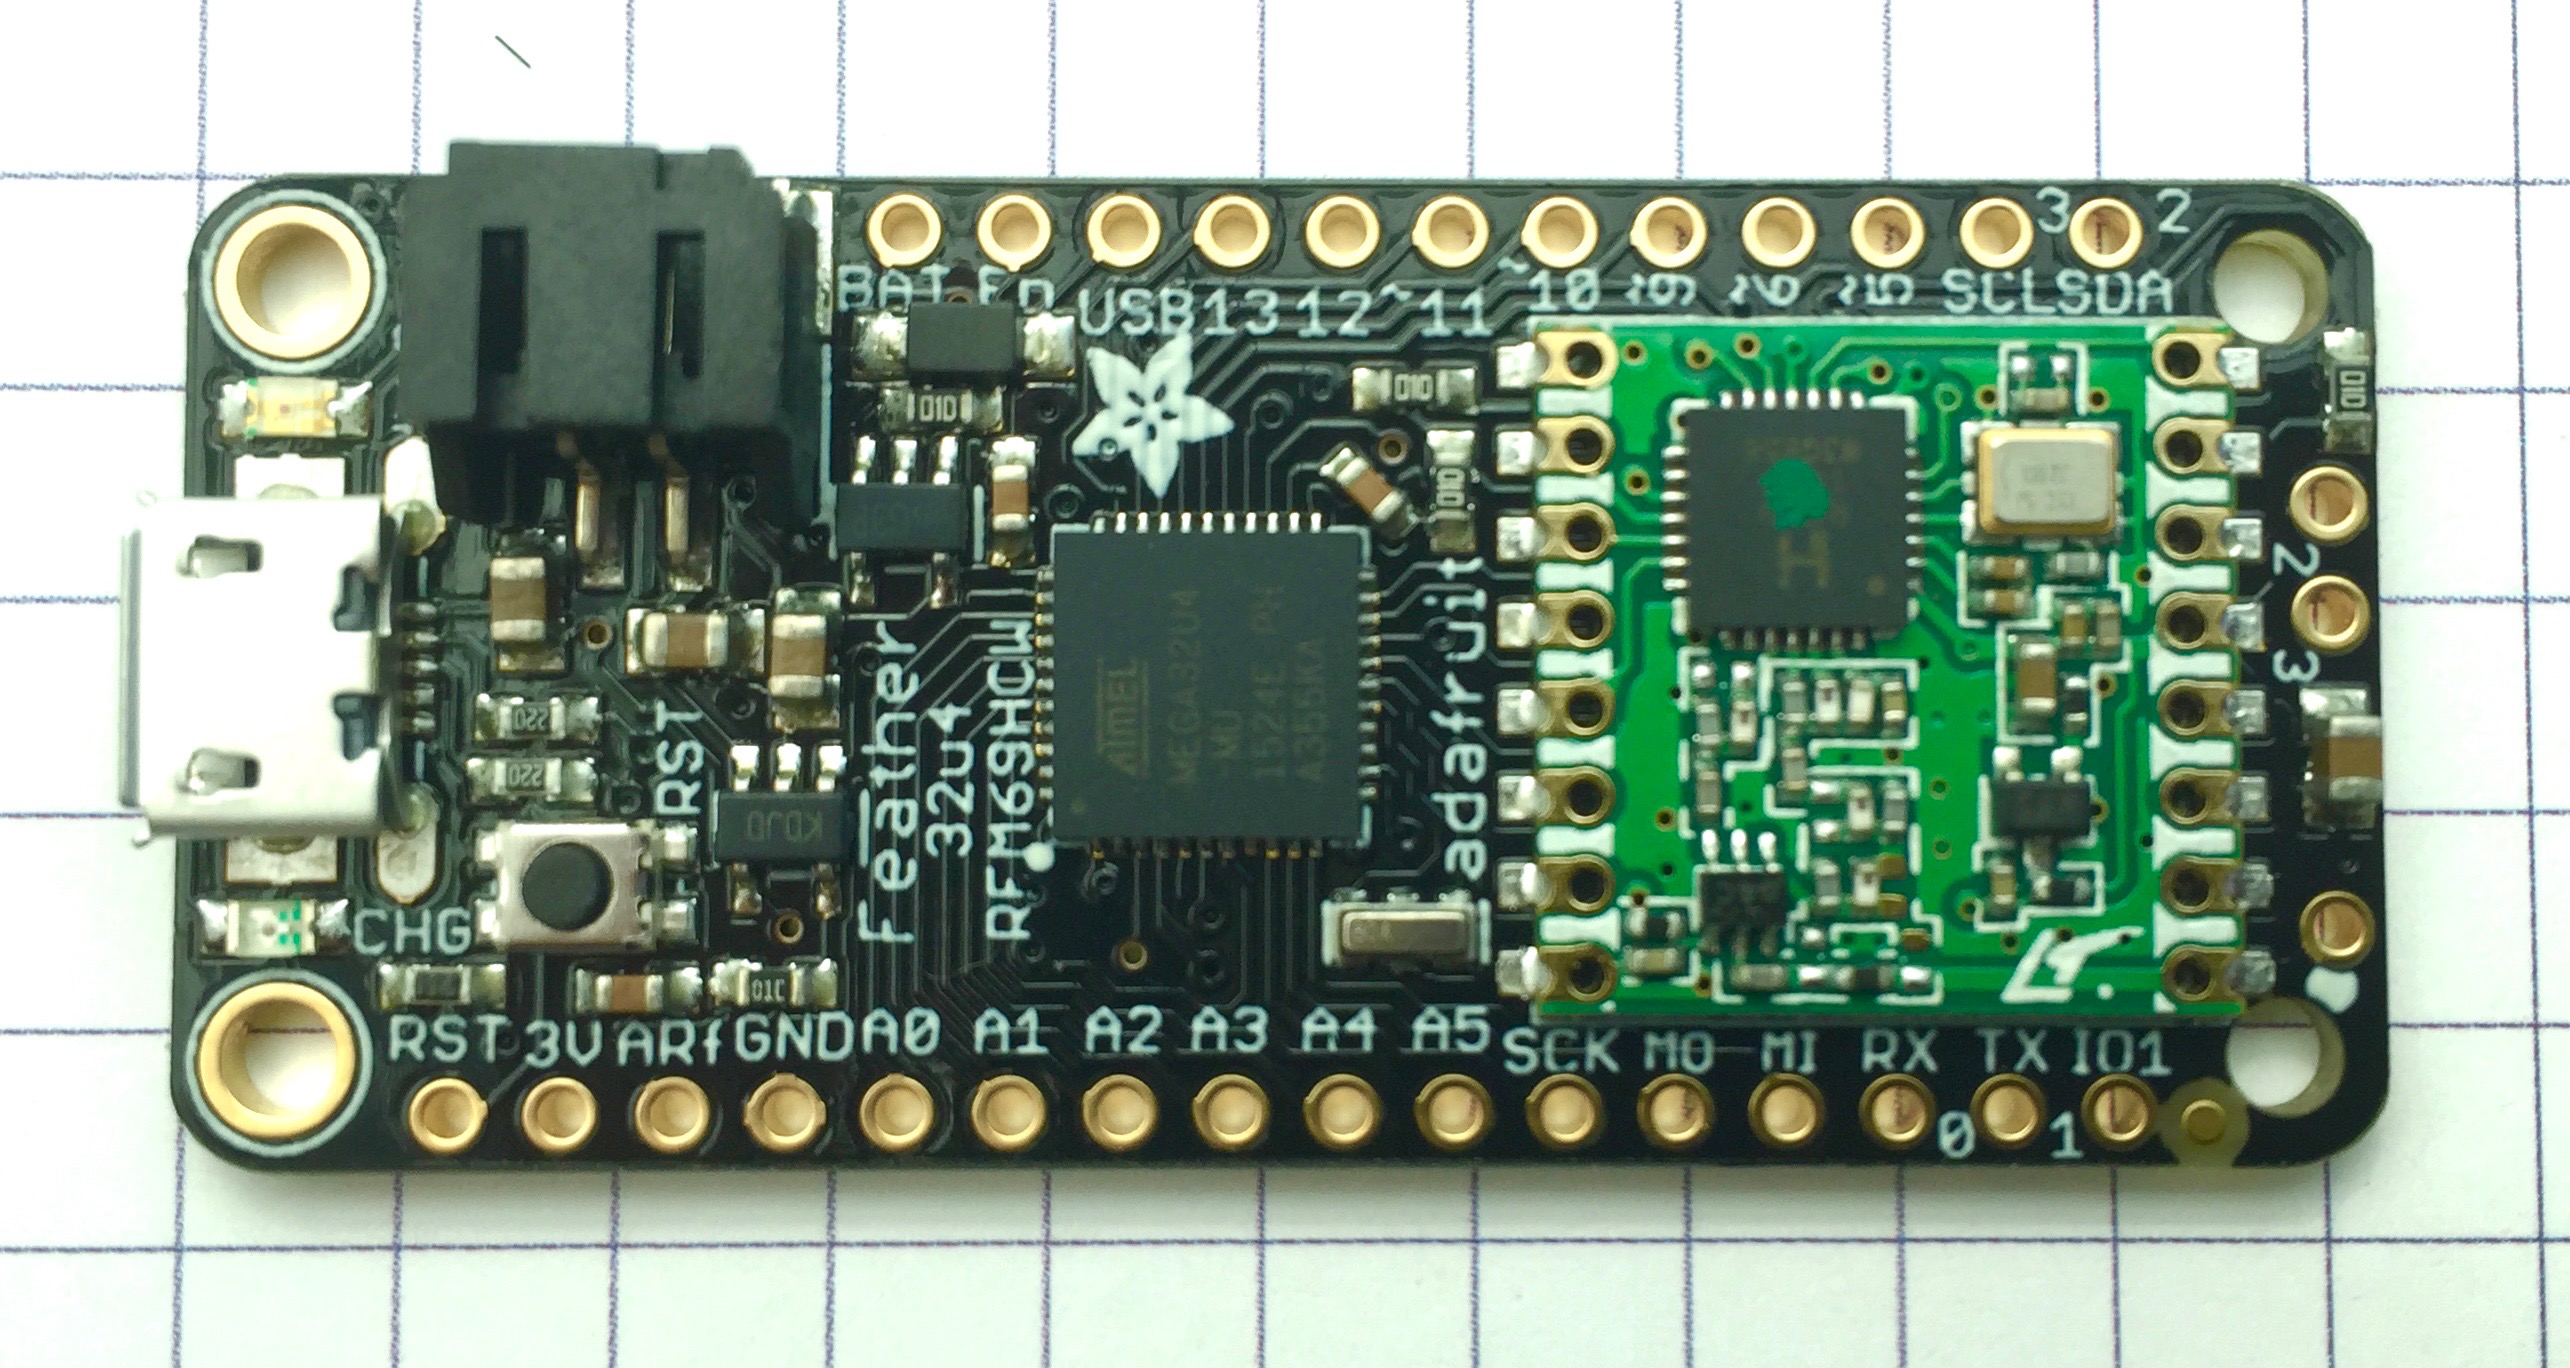
However, Adafruit also produce a number of modules in their Feather range that also use the HopeRF RFM69HCW transceiver, and the good news is, they’re very easy to get hold of in the UK. They have two Feathers with integrated RFM69HCW transceivers that meet the requirements -
- Adafruit Feather 32u4 RFM69HCW Packet Radio - 868 or 915 MHz - RadioFruit
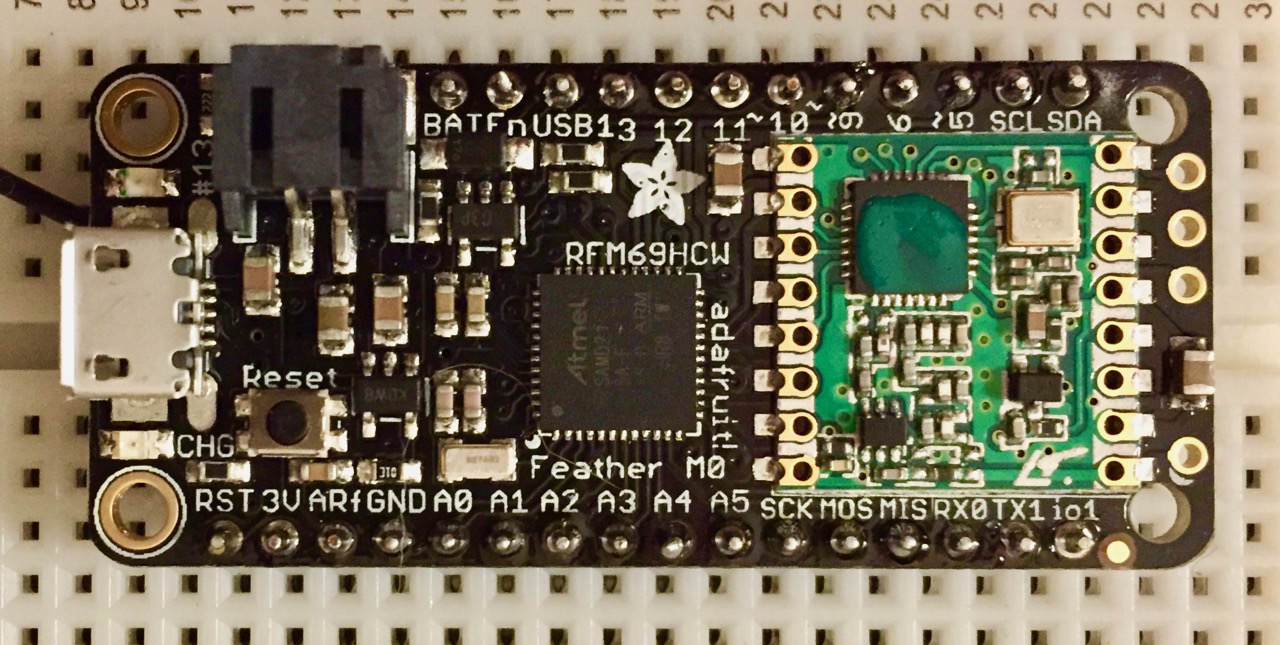
- Adafruit Feather M0 RFM69HCW Packet Radio - 868 or 915 MHz - RadioFruit
Note: be careful when you look at the Adafruit site, they do produce a number of other Feather boards based on HopeRF transceivers. They have RFM69 boards that use the 433MHz frequency bands (won't work with the ISS, wrong frequency), and boards that use the RFM96 (won't work with the ISS, wrong protocol). So be careful to order the right one.
I ordered one of each board. The 32u4 variant is closest to the Moteino board in terms of processor, but the M0 is way more powerful. Both arrived swiftly :-).
To use the transceivers, you're going to need to use an Arduino library. Adafruit discusses these in one of their articles on how to use the Feather RadioFruit boards. They recommend AirSpayce's Radiohead library. Following Adafruit's recommendation I did a fair amount of digging into this library and followed the examples on the Adafruit website. It let me set up the two RadioFruit's as a pair and transmit and receive data between them proving that they were both working. However this library is heavily geared towards people setting up the radios to work as pairs or in a network you control. It's not really setup for people trying to snoop into an existing radio setup. The other library they suggested was LowPowerLab's RFM69 Library. This is the library that It's science, but works like magic uses. Again I dug into the library and this one is more hacker friendly :-).
So the next phase was to begin porting the code from It's science, but works like magic to the Feather 32u4 RadioFruit. I was making some progress with this and was getting a clean compile, but wasn't picking up any radio transmissions from the ISS :-(.
Hydrosense
Then I found a very useful project on GitHub called Hydrosense. HydroSense/FeatherM0 Davis ISS rx on GitHub is a port of another project (Kobuki's VPTools) that has been ported to run on the Feather M0 RadioFruit. Interestingly, looking at VPTools, it turns out it's based on the original code from It's science, but works like magic, so everything comes back to a common ancestor. However that gave me a short cut, it's already adapted to run on the Feather M0 RadioFruit so I could use it as a quick test to see if the Adafruit RadioFruits could at least pick up data from my ISS.
Initial Success :-D
Downloading and compiling it on to my M0 Feather RadioFruit, it started to pickup transmissions. Hooray!! Hypothsis proved. The RadioFruit will work. It's always much easier to push forward on a project when you know that what you're trying to do is technically possible :-)
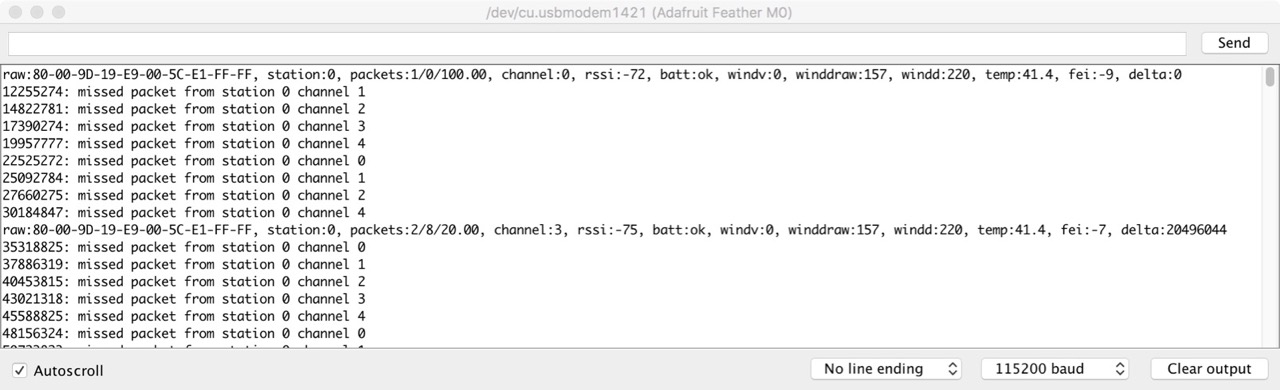
However it's not all roses, the example I ran, FeatherM0_Davis_ISS_rx.ino, is dropping a LOT of packets (like 90% of them).
A Different Goal
One thing that struck me, looking at the various examples in these projects, is they are all introducing a lot of complexity. They all try to follow the frequency hopping that the ISS uses by various means. They're trying to provide most or all of the functionality of the VP2 console. And some of them are sleeping the radio between packets to save power. This isn't really surprising as they're all based on the original work from It's science, but works like magic.
However I have a different goal in mind and so I want to start from a far more basic standpoint. I just want to capture, timestamp and export the the base data from the ISS to a Raspberry Pi for detailed processing.
So the current plan is -
Basic Plan
- Evaluate the code in all the above libraries and build a basic listener, that only listens on one of the EU frequencies initially.Then check that we get a reading every 12.5 secs. This will prove base functionality, and confirm that we're not losing packets. This will also allow me to confirm how often the ISS sends out packets. It'll be the time between packets on one frequency divided by the number of frequencies in use (in the case of the EU that should to be 5).
- Run the same test on all the other frequencies that are supposed to be in use in the EU. This will confirm that the frequency list in the It's science, but works like magic code base are correct. A frequency that's not used won't get any packets, a missing frequency from the table will show up as a timing issue.
- Add the frequency hoping so we can capture all the packets the ISS sends out (in the EU spectrum). The HydroSense / VPTools code tries to be very efficient by sleeping the radio between listening for packets and only coming awake just before it's needed. My unit will be mains powdered so this level of efficiency is just not required. Getting all the packets is a higher priority. I want to keep this far simpler and just listen until I get a packet and then jump to the next frequency using the timings established above.
- Once I can reliably capture each packet, I'll pause and re-evaluate.
Further Plans & More Hardware
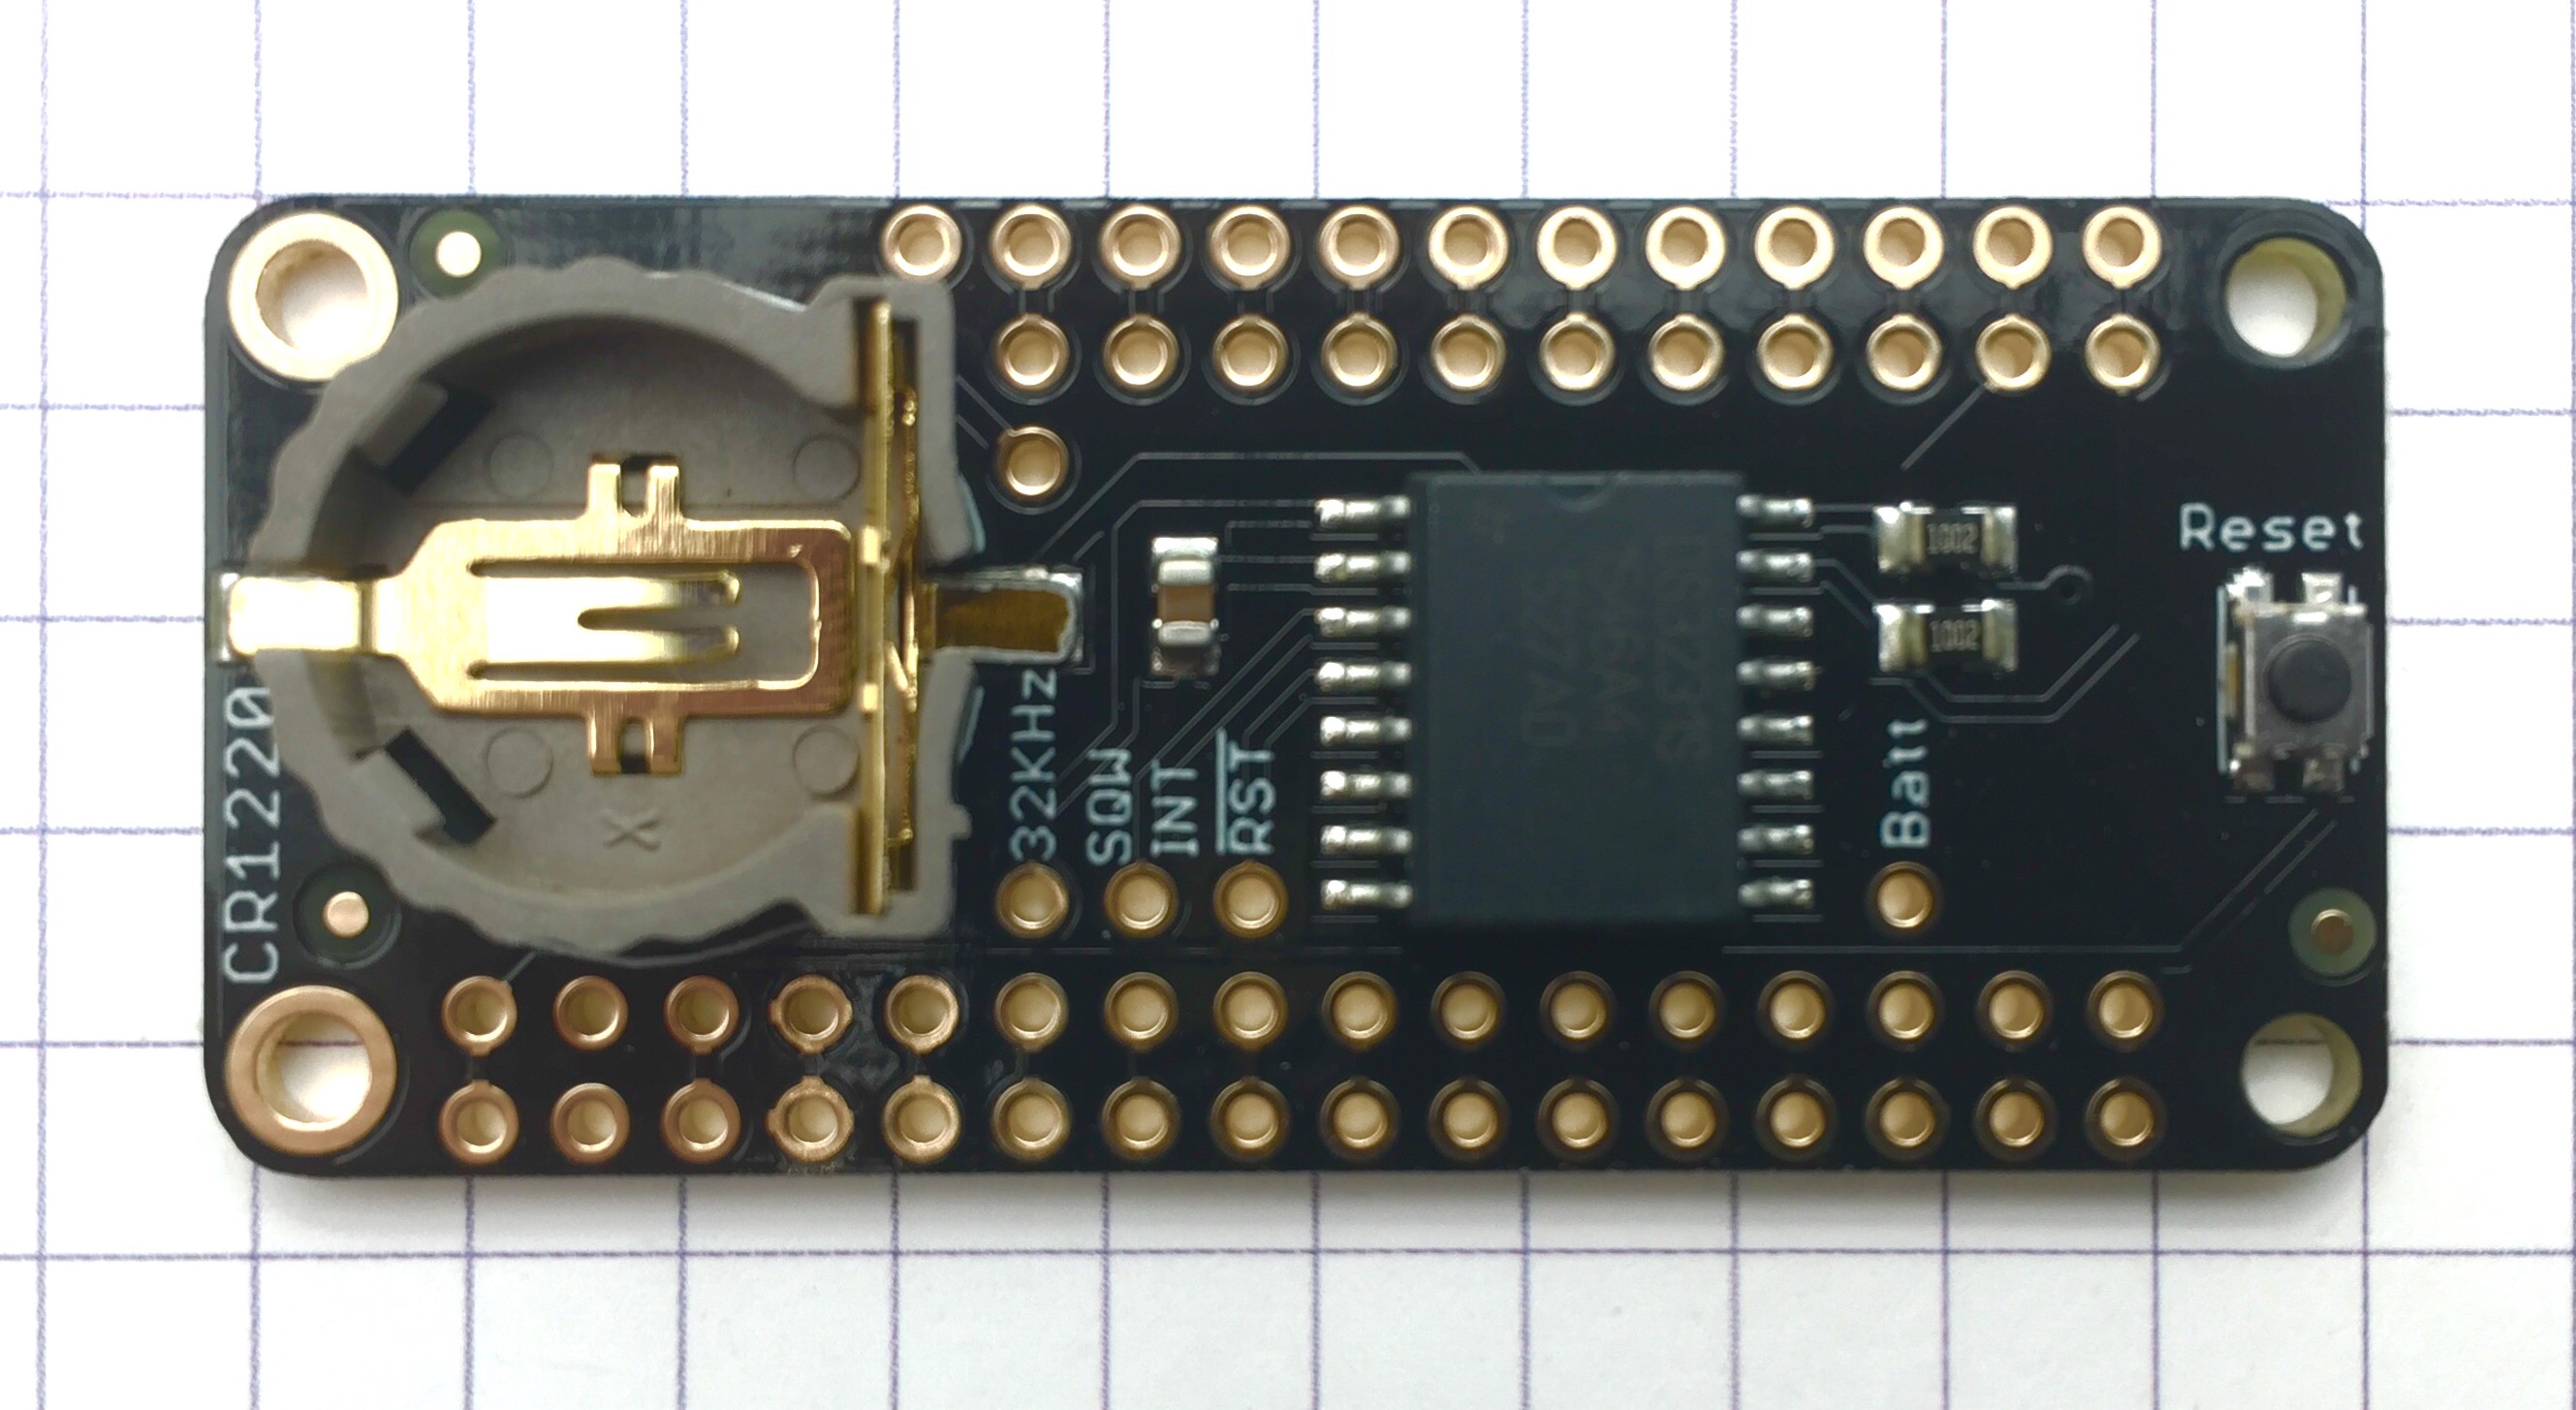
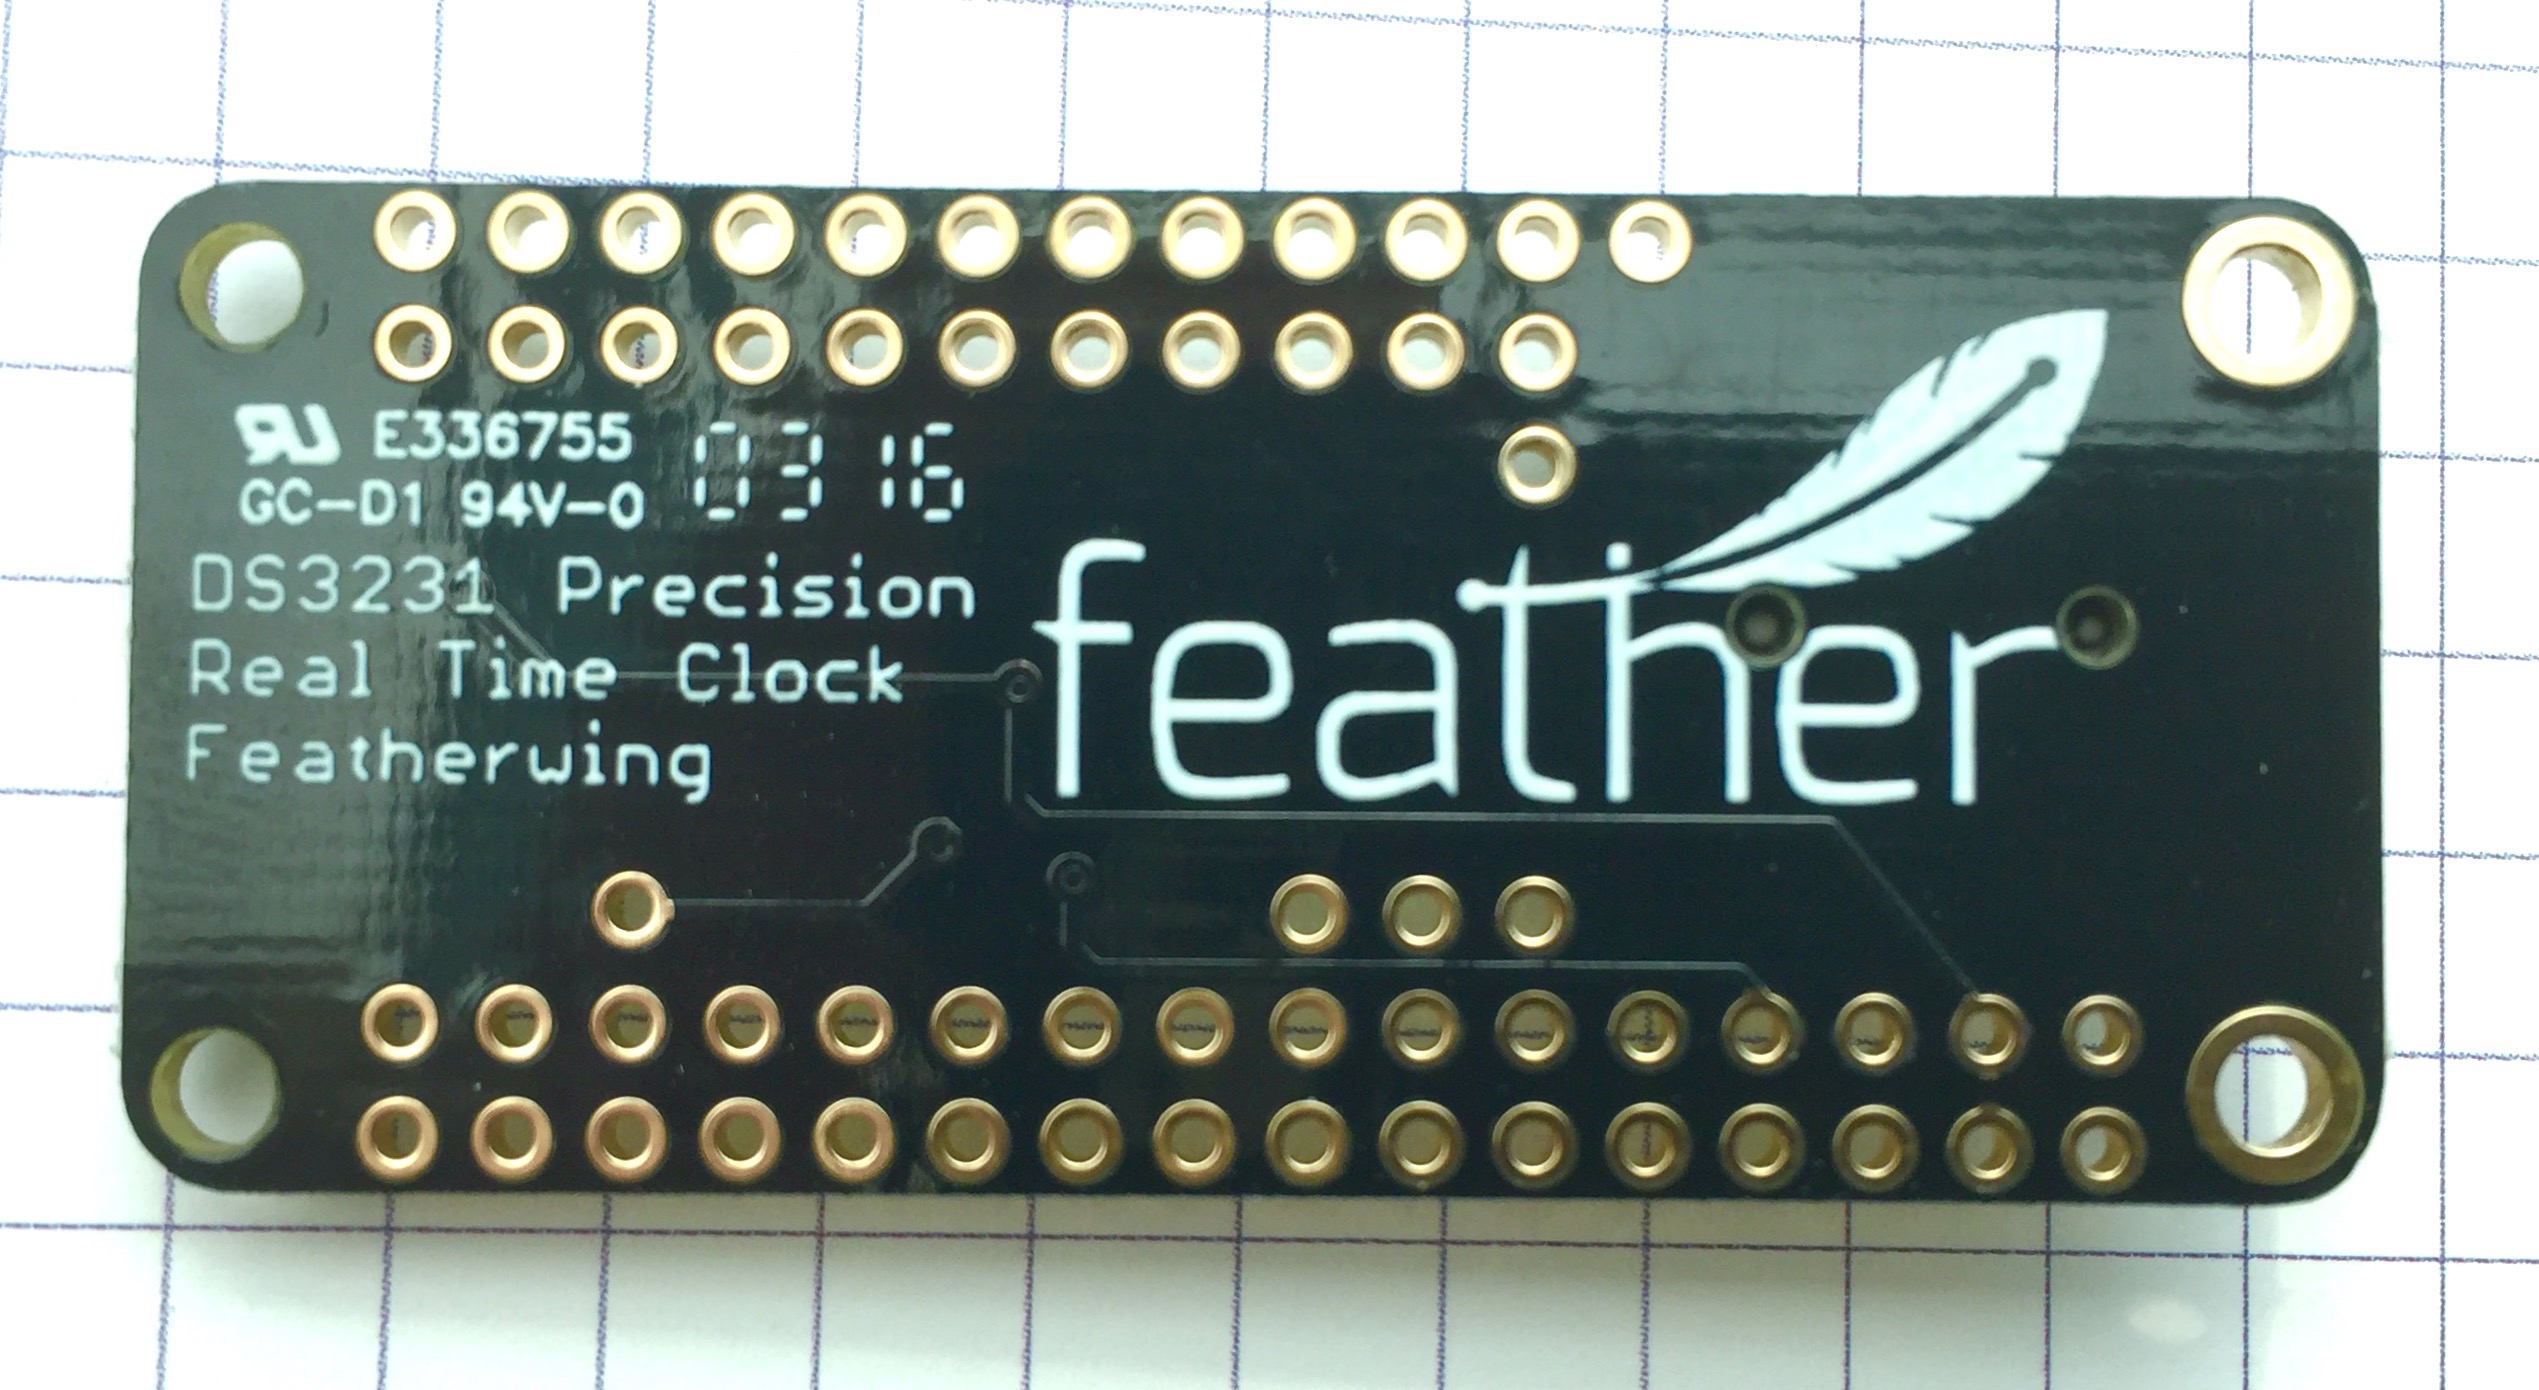
The DS3231 Precision RTC FeatherWing
I've also ordered a DS3231 Precision RTC FeatherWing and an Adafruit BME280 I2C or SPI Temperature Humidity Pressure Sensor. Once the RadioFruit can receive data from the ISS, I'll add these modules so it can report barometric pressure, and internal temperature and humidity.
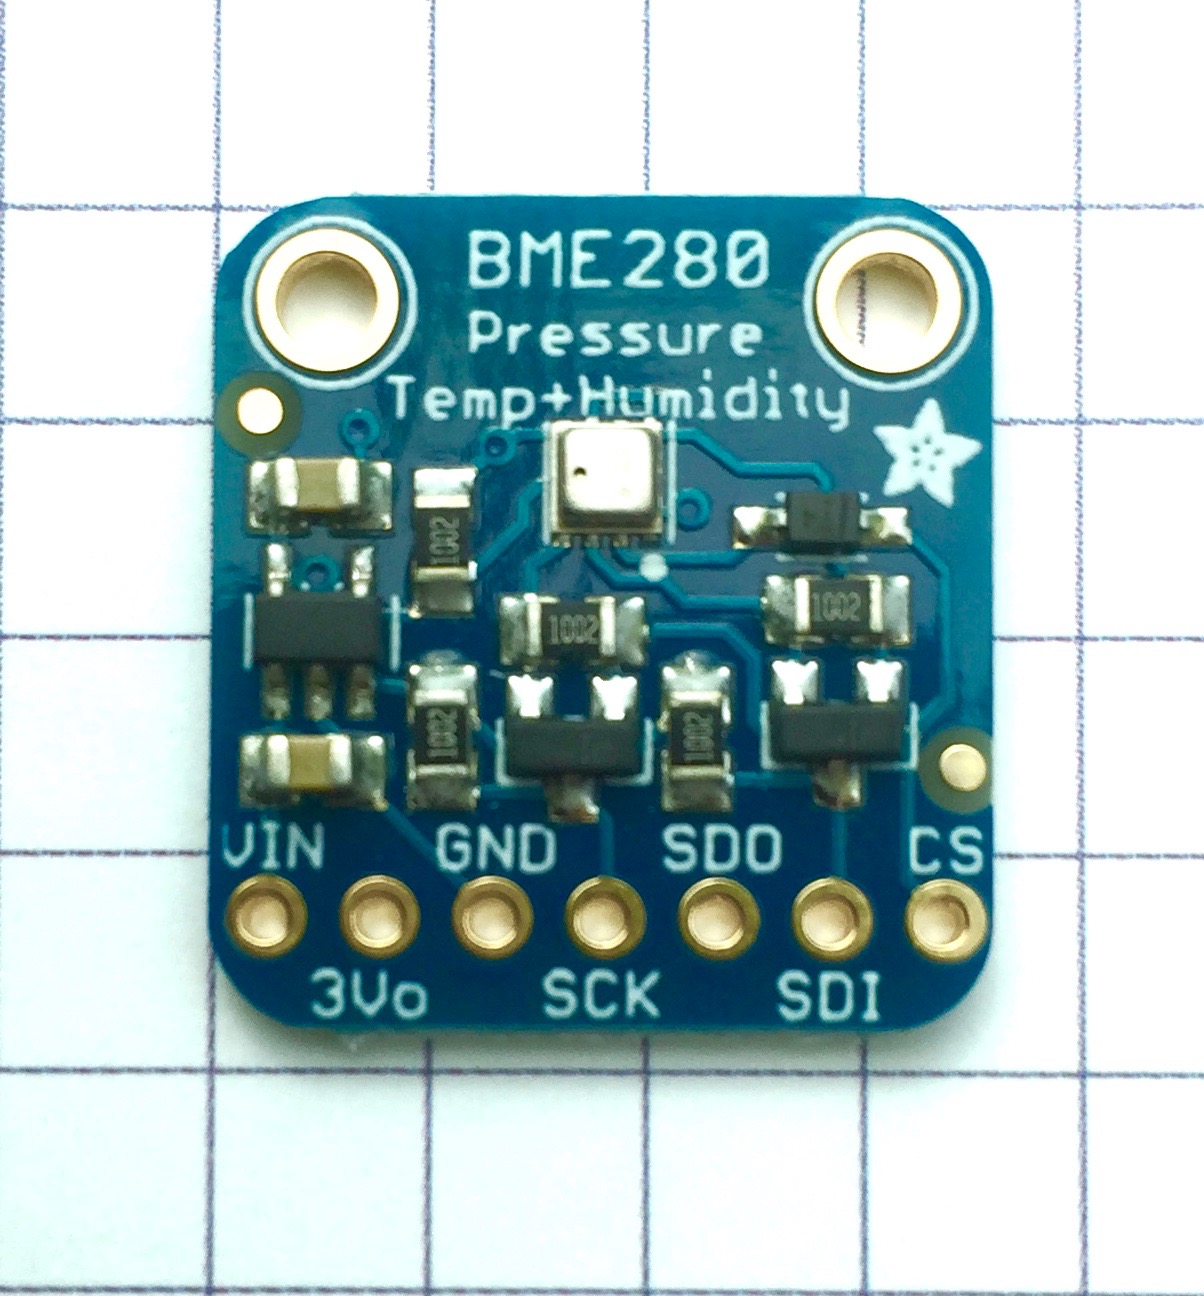
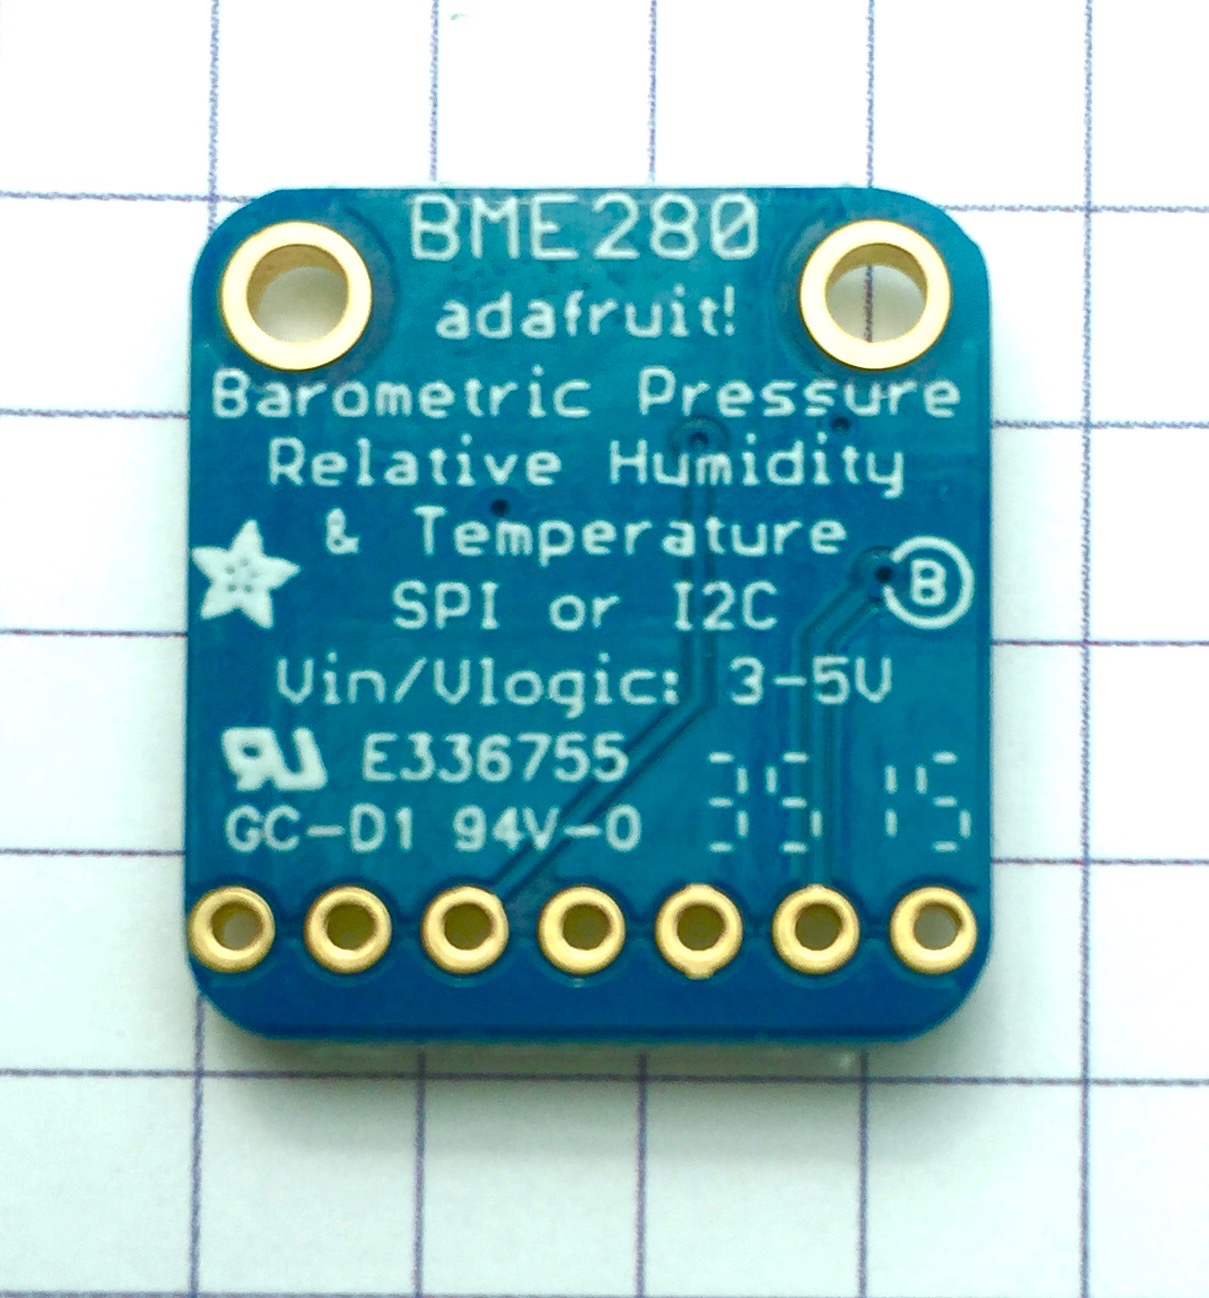
The Adafruit BME280 I2C or SPI Temperature Humidity Pressure Sensor
An advantage of using the BME280 is it can easily be mounted remotely from the Feather and the Raspberry Pi by using a bit of wire. It could even be mounted in a proper temperature sensor housing. This gets round the problem that the VP2 console has with the temperature sensor being mounted on the PCB within the console. If you have a VP2 turn the backlight on and watch the "internal" temperature climb :-)
The RTC will let me timestamp the readings before I send them to the RPi. I'm envisioning something like …
<time stamp><pressure><internal temperature><internal humidity><ISS msg>
At the moment I'm not planning to decode the ISS message on the Feather. The Feather will be kept light and fast. The actual decoding of the message will be done in Python on a Raspberry Pi, and the Raspberry Pi will store all the data in a database.
Side note: I'll need to build in a way to let the RadioFruit set the time on the RTC from the Raspberry Pi, given I'm only anticipating logging a message every 2.5 seconds it's not too time critical.
This differs from the approach outlined in the It's science, but works like magic. blog where they programme the Moteino unit to completely replace the VP2 and emulate it so it responses it appears to the outside world as it it's a VP2. This means existing weather software can easily connect to it.
I want a more flexible approach so I can overcome the limitations of the VP2.
Side note
During the research for this post I also came across this little beastie - the Ambient Weather AirBridge. Essentially they've done what I want to do but with one key element missing. I want to have local repeaters that can display the weather data within the house. Plus there's also the cost.
Longer Term Plans
Longer term:
- Pull in forecast data from one of the online weather services.
- Setup a server on the Raspberry Pi so it'll accept requests from the network interface for data.
- Define an API
- Build a screen interface using the standard RPi touch display
- VP2 emulation mode (Everyone else seems to be doing this so I'm not entirely sure about it. The VP2 is very limited by modern standards so why emulate it?)
- Once we have enough data setup up run an ML analysis on the data to see if we can start doing our own forecasts :-) (Come on, ML, is flavour of the month at the moment so I had to get it into the blog entry somewhere :-D).
Stay tuned for part 3 :-)
In the Spring, I have counted 136 different kinds of weather inside of 24 hours. - Mark Twain
In the EU it needs to be monitor the 868Mhz bands, in the US it needs to be able to monitor the 915MHz bands. ↩︎